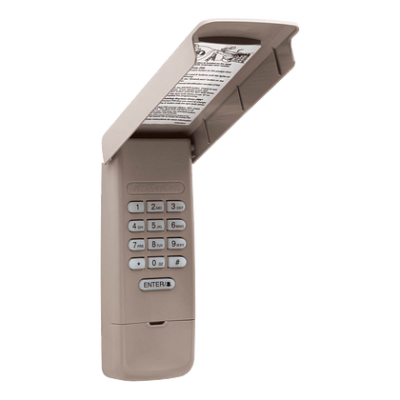
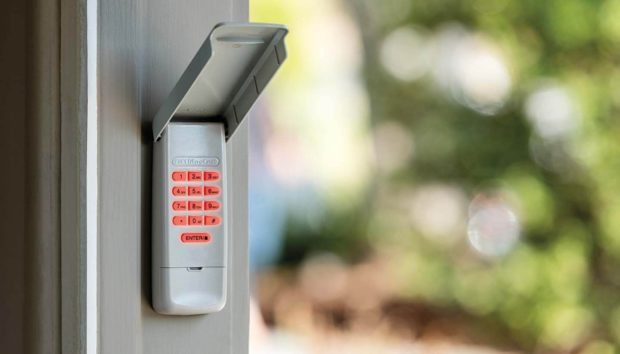
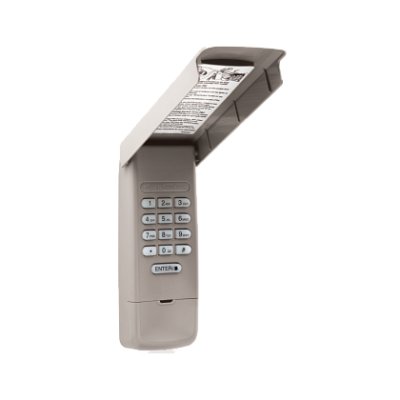
An external garage door keypad is the most common add-on accessory we install. For DIYers looking for a guide to show them how to program LiftMaster wireless keypads, you are in the right spot.
We will walk you through programming three separate LiftMaster wireless keypads. All of the keypads require a 9v battery for power. You’ll also need a ladder to safely access the LEARN button on your opener. To install the keypad, you need a drill with a 3/8″ bit and a screwdriver. None of the LiftMaster wireless keypads require an electrician or a source of electricity.
We are not discussing or providing instructions on programming keypads using control panels. Our guide is only for connecting the keypad using your existing, compatible garage door opener.
Let’s get started.
Programming the LiftMaster 877LM using your opener

LiftMaster Wireless Keypad Installation Warning
- Install keypad within sight of garage door, out of reach of small children at a minimum height of 5 feet (1.5 m) above floors, landings, steps or any other adjacent walking surface, and away from ALL moving parts of door.
- ALWAYS keep remote controls out of reach of children. NEVER permit children to operate or play with remote controls.
- Activate gate or door ONLY when it can be seen clearly, is properly adjusted, and there are no obstructions to door travel.
- ALWAYS keep gate or garage door in sight until completely closed. NEVER permit anyone to cross path of a moving gate or door.
1. Start by closing your garage door and ensure a working light bulb is in your opener.
2. Remove your wireless keypad from the packaging and ensure it has a working battery. You have 30 seconds to complete the PIN pairing once you push the learn button, so we recommend having your keypad out and powered up before completing the next steps.
3. Grab a ladder to open the light cover. Locate and identify the Learn button, which is typically found on your opener’s back or side panel. The antenna wire is on the same side as your learn more button and will match the color of your learn more button.[insert pictures]
4. Quickly press and release the learn button one time. Once pressed, a solid amber light should appear next to it. [insert picture] [call-out] do not hold down the colored button, or you will clear all your remote control settings.
5. Within 30 seconds of pressing the learn button, enter a four-digit pin on the keypad and then press and hold the enter button.
6. Look for the light(s) on your garage door opener to blink or for the opener to emit a clicking sound.
7. Once paired, the lights on your keypad will start blinking. Wait until the blinking stops before using your pin to operate the garage door.
8. Enter your pin to open your garage door.
Programming the LiftMaster 387 keypad using your opener

LiftMaster Wireless Keypad Installation Warning
Unlike the 877LM, the 387 requires you to set your pin before pairing it with your garage door opener.
1. Unbox your keypad and make sure the battery is powering the device.
2. Grab a ladder and remove the light cover to expose the learn button on your garage door opener.
3. Write down a four-digit pin.
4. Find and write down your opener ID
5. Press and hold the * and # buttons until the keypad stops flashing.
6. IMPORTANT: Within ten seconds, enter your pin and press #, and enter the opener ID, followed by #.
7. Quickly press and release the learn button one time.
8. Enter your pin and press the 0 key. For Genie & Overhead Door openers, press the 0 key twice.
9. Enter your pin to open your garage door.
Programming the LiftMaster 878MAX keypad using your opener

LiftMaster Wireless Keypad Installation Warning
Like the 877LM, you do not have to set the pin before pairing it with your garage door opener.
Instructions for an opener with a yellow learn button.
1. Unbox your keypad and make sure the battery is powering the device.
2. Grab a ladder and remove the light cover to expose the learn button on your garage door opener.
3. Quickly press and release the learn button one time.
4. Enter a four-digit PIN and press the ENTER button.
5. Confirm the light on your opener blinks or that the opener clicks twice.
6. Test to confirm the device paired property by entering your PIN and pressing the ENTER button to open your garage door.
Instructions for an opener with a different color learn button.
1. Unbox your keypad and make sure the battery is powering the device.
2. Grab a ladder and remove the light cover to expose the learn button on your garage door opener.
3. Press and hold the * and # buttons on the keypad until the lights on the keypad stop blinking.
4. Enter a four-digit PIN and press the # button.
5. Press and release the ENTER button the number of times that corresponds with the garage door opener type below:
6. [insert presses table]
7. 1,2,3,4
8. Yellow, purple, red/orange, green
9. Press and release the 0 button on the keypad.
10. Press and release the LEARN button on the opener one time. The LED light next to the LEARN button will turn on.
11. Enter the PIN, then press and release the ENTER button on the keypad until the garage door opener lights flash or you hear two clicks.
12. Test the programming by entering your PIN and pressing ENTER on the keypad.
In closing
In you live near Dallas, Fort Worth, Texas, and want a local garage door company to install your wireless keypad, we’d love to help. We charge $249 to install and program a wireless keypad for your garage door. If you need two keypads, the second is $149. Please call us at 817-500-5988 or submit a form to schedule your installation.

